Installing and setting up a new Windows operating system can feel daunting, but it doesn’t have to be. Whether you’re upgrading to the latest version, building a new PC, or reinstalling Windows to give your device a fresh start, this guide will walk you through the process with ease. By following these steps, you’ll have your Windows system up and running smoothly in no time.
This Step-by-Step Guide to Installing & Setting Up Windows is designed to be beginner-friendly, packed with practical tips, and optimized for SEO to help you find the information you need. Let’s dive in and get your PC ready for action!
Why Install Windows?
Windows remains the most popular operating system worldwide, powering millions of devices with its user-friendly interface, vast software compatibility, and robust features. Whether you’re a gamer, a professional, or a casual user, Windows offers a versatile platform tailored to your needs. According to StatCounter, as of early 2025, Windows holds over 70% of the global desktop OS market share, making it a go-to choice for most users.
Installing a fresh copy of Windows can also resolve performance issues, remove malware, or give you access to the latest features in Windows 11, such as improved gaming performance with DirectStorage or enhanced productivity tools like Snap Layouts. Ready to get started? Let’s break it down.
What You’ll Need Before Installing Windows
Preparation is key to a smooth installation. Here’s what you’ll need:
- A Windows License Key: You can purchase one from Microsoft or use an existing key if you’re reinstalling.
- A USB Drive (at least 8GB): For creating a bootable installation media.
- A Stable Internet Connection: For downloading the Windows installation files and updates.
- A Backup of Your Data: Save important files to an external drive or cloud storage like OneDrive.
- A Compatible PC: Check Microsoft’s system requirements for your Windows version (e.g., Windows 11 requires TPM 2.0 and Secure Boot).
- A Product Key or Microsoft Account: To activate Windows after installation.
Pro Tip: If you’re upgrading from Windows 10 to 11, the upgrade is free as long as your device meets the requirements. Double-check using Microsoft’s PC Health Check tool.
Step-by-Step Guide to Installing Windows
Follow these steps to install Windows on your PC. This guide focuses on a clean installation, which ensures a fresh start without leftover files or bloatware.
H3: Step 1: Download the Windows Installation Media
Microsoft provides a free tool to create a bootable USB drive for installing Windows.
- Visit the official Microsoft website and download the Windows Media Creation Tool for your desired version (e.g., Windows 11).
- Run the tool, select “Create installation media for another PC,” and choose your language, edition, and architecture (64-bit is recommended for most modern systems).
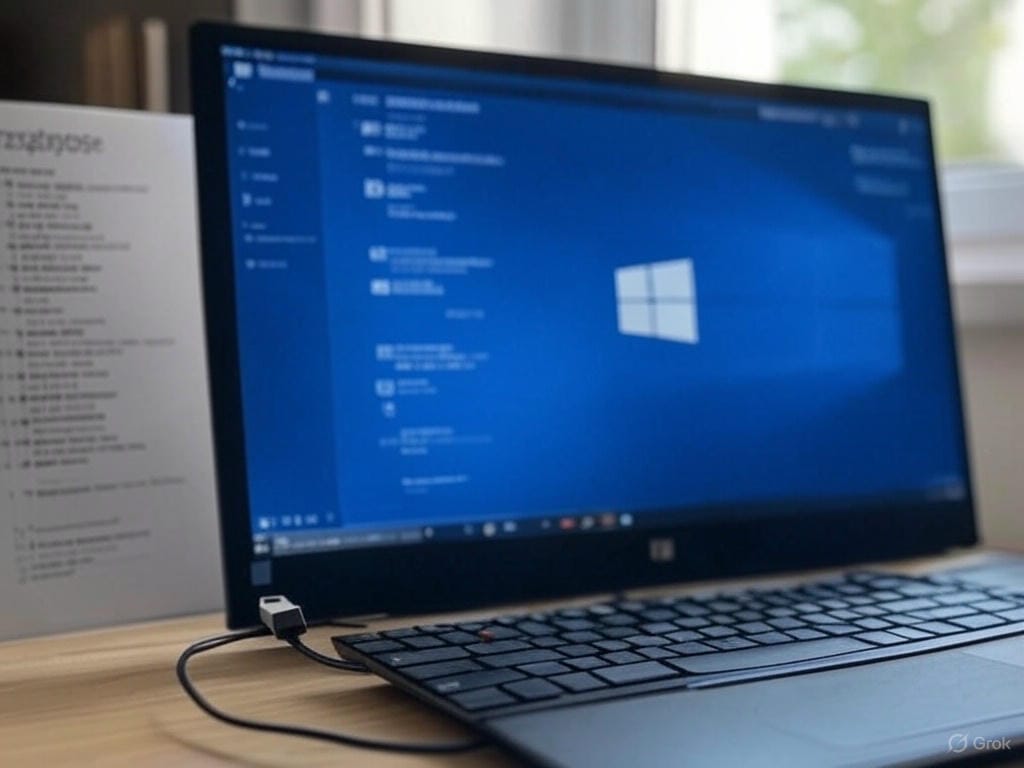
- Insert your USB drive, select it in the tool, and let it download and create the bootable media. This process may take 15–30 minutes depending on your internet speed.
Real-World Example: A friend recently built a gaming PC and used the Media Creation Tool to install Windows 11. The process was seamless, and they were gaming within a couple of hours.
Step 2: Back Up Your Data
Before proceeding, ensure all your important files are backed up. A clean installation will erase everything on your system drive.
- Copy files to an external hard drive or upload them to a cloud service like Google Drive or OneDrive.
- Use Windows’ built-in backup tool: Go to Settings > Update & Security > Backup and select “Add a drive” to back up to an external device.
Tip: Double-check that your backup includes critical folders like Documents, Photos, and Desktop.
Step 3: Boot from the USB Drive
To install Windows, you need to boot your PC from the USB drive you created.
- Restart your PC and enter the BIOS/UEFI settings by pressing the appropriate key during startup (usually F2, F12, or Del—check your manufacturer’s instructions).
- In the BIOS, set the USB drive as the first boot device under the “Boot Order” menu.
- Save changes, insert the USB drive, and restart your PC. You should see the Windows Setup screen.
Troubleshooting: If your PC doesn’t boot from the USB, ensure Secure Boot is enabled and Legacy Boot is disabled in the BIOS.
Step 4: Install Windows
Now it’s time to install Windows on your system.
- On the Windows Setup screen, select your language, time format, and keyboard layout, then click “Next.”
- Click “Install Now” and enter your product key when prompted (you can skip this and activate later if needed).
- Accept the license terms and choose “Custom: Install Windows only (advanced)” for a clean installation.
- Select the drive where you want to install Windows (usually your primary SSD or HDD). If you’re reinstalling, delete existing partitions on this drive to start fresh, then click “Next” to begin the installation.
- The installation process will take 10–30 minutes, and your PC will restart a few times. Don’t interrupt it.
Step 5: Complete the Initial Setup
Once the installation is complete, Windows will guide you through the initial setup.
- Choose your region and keyboard layout.
- Connect to a Wi-Fi network (you can skip this if you prefer a local account, though Microsoft encourages signing in with a Microsoft account).
- Sign in with your Microsoft account or create a local account.
- Set up a PIN for easier login.
- Answer the privacy settings questions (e.g., location tracking, ad personalization). I recommend disabling most of these for better privacy.
Example: When I set up Windows 11 on my laptop, I opted for a local account to avoid syncing everything with Microsoft’s cloud. It gave me more control over my data.
Setting Up Windows for Optimal Performance
Now that Windows is installed, let’s configure it to suit your needs and ensure it runs smoothly.
H3: Step 1: Install Updates
Keeping Windows updated is crucial for security and performance.
- Go to Settings > Windows Update > Check for Updates.
- Download and install any available updates, including drivers and security patches.
- Restart your PC if prompted.
Pro Tip: In 2024, a Windows update fixed a bug causing random crashes during gaming. Always stay updated to avoid such issues.
Step 2: Install Essential Drivers
Drivers ensure your hardware (like your graphics card or Wi-Fi adapter) works correctly.
- Visit your PC or motherboard manufacturer’s website to download the latest drivers (e.g., NVIDIA or AMD for graphics drivers).
- Alternatively, use Windows Update to automatically install drivers: Settings > Windows Update > Advanced Options > Optional Updates.
- Install drivers for your chipset, audio, and network adapters first.
Step 3: Customize Your Settings
Make Windows your own by tweaking these settings:
- Personalize Your Desktop: Right-click the desktop, select “Personalize,” and choose a wallpaper or theme.
- Adjust Power Settings: Go to Control Panel > Power Options and select “High Performance” if you’re on a desktop PC.
- Set Up File Explorer: Open File Explorer, go to View > Options, and enable “Show hidden files” for easier troubleshooting.
Step 4: Install Essential Software
Download the apps you’ll need for daily use:
- Web Browser: Chrome, Firefox, or Edge (pre-installed).
- Productivity Tools: Microsoft Office, Google Docs, or LibreOffice.
- Security Software: Windows Defender is great, but you can add Malwarebytes for extra protection.
- Media Players: VLC Media Player for videos or Spotify for music.
Tip: Avoid downloading software from untrusted sources to prevent malware.
Step 5: Restore Your Data
Now that your system is set up, bring back your backed-up files.
- Copy files from your external drive or cloud storage to their respective folders (e.g., Documents, Pictures).
- Reinstall any apps that were previously backed up.
Practical Tips for a Smooth Windows Experience
Here are some additional tips to enhance your Windows setup:
- Enable System Protection: Go to Control Panel > System > System Protection and turn on System Restore to create recovery points.
- Use Storage Sense: In Settings > System > Storage, enable Storage Sense to automatically free up space by deleting temporary files.
- Set Up OneDrive: If you use a Microsoft account, OneDrive offers 5GB of free cloud storage—perfect for backups.
- Organize Your Start Menu: Pin frequently used apps to the Start menu for quick access.
- Learn Keyboard Shortcuts: Use Windows + D to show the desktop or Windows + E to open File Explorer.
Common Installation Issues and How to Fix Them
Even with careful preparation, you might encounter hiccups. Here’s how to troubleshoot:
- Issue: “Windows Setup Freezes.”
Fix: Ensure your USB drive isn’t faulty—try a different port or recreate the bootable media. - Issue: “No Drivers Found During Installation.”
Fix: Download the necessary drivers (e.g., for your storage controller) onto another USB and load them during setup. - Issue: “PC Doesn’t Meet Windows 11 Requirements.”
Fix: If your PC lacks TPM 2.0, you can bypass this requirement using a registry tweak (search for Microsoft’s official workaround).
Enjoy Your Fresh Windows Setup!
Congratulations—you’ve successfully installed and set up Windows! By following this guide, you’ve ensured your system is secure, optimized, and ready for whatever you throw at it. Whether you’re gaming, working, or browsing, your fresh Windows installation will provide a smooth and reliable experience.
Now it’s time to make the most of your new setup. Install your favorite apps, customize your desktop, and share this guide with anyone else who might need help installing Windows. Have questions or run into issues? Drop a comment below—I’d love to help!